The following procedure shows how to update firmware on PRO DSX for systems using the PRO DSX AV Over IP Controller.
Note: Always contact Octava customer support first before attempting any firmware updates. Your customer support agent will review your system and provide the correct firmware to load if an update is necessary. Loading in incorrect firmware may ‘brick’ your units.

PRO DSX AV Over IP Controller
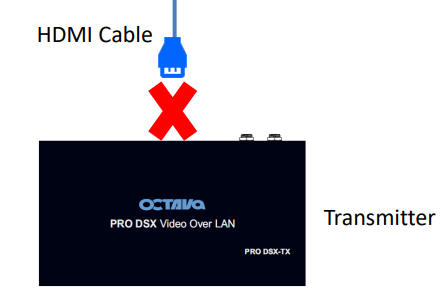
Step 1: Disconnect the HDMI Input cable from all PRO DSX-TX (Transmitter units). This will ensure there is no video / data conflict during the update process. (If you have 10 PRO DSX -TX units, you will need to disconnect all HDMI cables from all 10 TX units)
Step 2: Open your PRO DSX AV OVER IP App and go to Scan System

Step 3: Verify that you see a list of all the PRO DSX TX and RX installed.
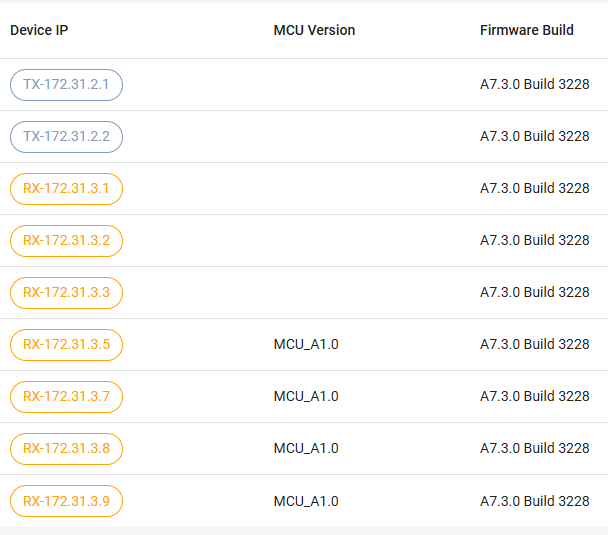
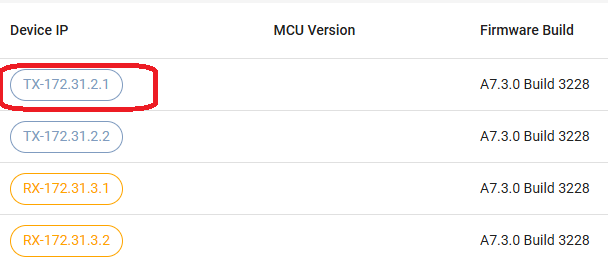
Step 4: Select the first TX on the Device IP list. (TX are also referred to has HOST)
Step 5: Select UPDATE Firmware
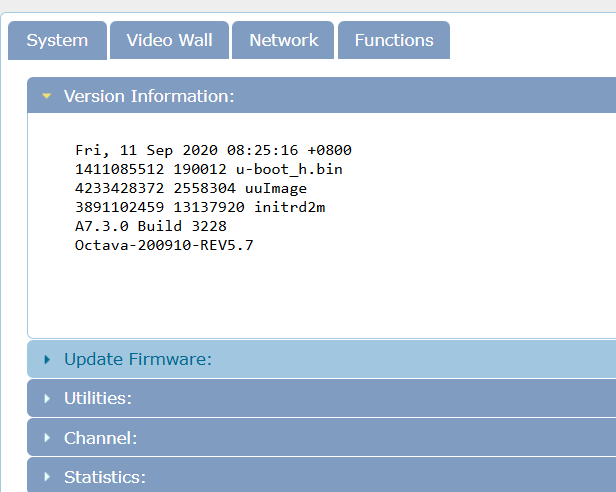
Step 6: Select Choose File
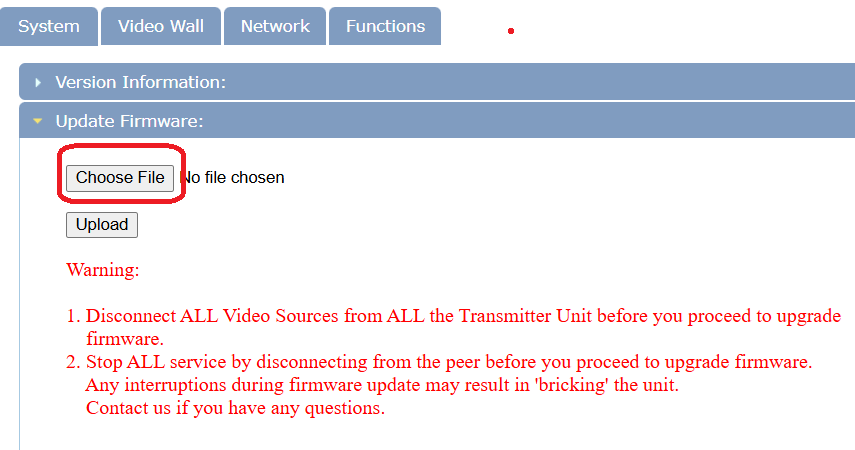
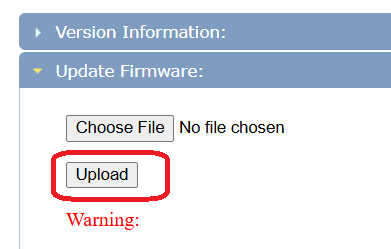
Step 7: Select the firmware file that you were provided to load for the TX then Upload. (If you selected a RX, then load in the firmware for RX that you were provided.)
Step 8: Wait , until the unit has finished REBOOTING
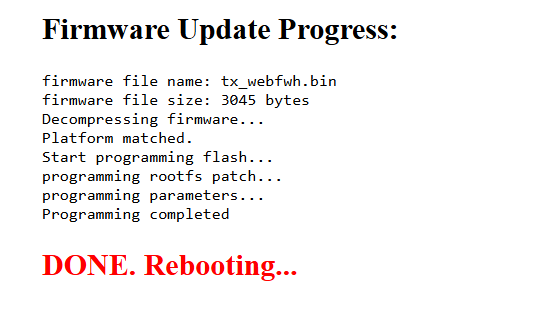
Step 9. Done, you have completed update to a TX unit.
Step 10: Repeat Steps 3-9 for each PRO DSX-TX and RX in the system.
